A celebration of bread’s universal importance in our daily nourishment, no matter where you’re from! Bread isn’t just for the French; it’s a global staple that brings people together, nourishing body and soul. And guess what? Making it at home? Easy as pie.
With this Rustic Crusty Bread recipe, I’m inviting you to tap into the timeless tradition of breadmaking and experience the pure joy of baking your own delicious loaf. From kneading the dough to slicing into that golden crust, it’s all about embracing the simple pleasures of homemade bread wherever you call home.
So, let’s roll up our sleeves and get ready to break bread with friends, family, and neighbours from all corners of the world. It’s time to celebrate the magic of freshly baked goodness, Dim style!
Rustic Crusty Bread
Equipment
- Dutch Oven 4-6 quart
- Large mixing bowl or your stand mixer with a dough hook
- Spatula
Ingredients
- 400 grams flour 2½ cups
- 300 ml warm water 1¼ cups
- 9 grams active dry yeast 2 tsp
- 4 grams sugar 1 tsp
- 8 grams kosher salt 1¼ tsp
Instructions
Rise of The Dough: Episode 1
- Alright, here's how we kick things off: Combine yeast, sugar, and warm water in a mixing bowl. Or, if you're feeling fancy, fire up that stand mixer with a dough hook attachment.
- Give that yeast mixture some room to do its thing — let it proof for about 5 minutes until it's all nice and foamy. It's like watching nature work its wonders right in your own kitchen. Just sit back, take a breather, and let the magic unfold before your very eyes.
- Alright, time to get your hands (or a spatula) dirty. Add that flour to the bowl and mix it up until the dough starts to come together, then toss in that salt and keep mixing until there ain't a speck of dry flour left in sight.Now, here's the thing: this dough ain't gonna be the picture of perfection right away. It's gonna be a bit shaggy and sticky, but don't sweat it. Trust the process, my friend—it's all part of the journey. Before you know it, that dough will transform into something smooth and elastic, like poetry in motion.
- Now, it's time to play the waiting game. Cover that bowl with a clean tea towel and let it sit on the counter for about 1 hour. We're talkin' about giving that dough some room to stretch its legs and rise to the occasion—literally. Keep an eye on it, 'cause when it's doubled in size, you'll know it's ready to rock and roll. It's all about that patience, my friend. Trust the process, and you'll be rewarded with some seriously tasty results.
Crafting the Dough: Final Rise
- Once the dough has risen, lightly dust your kitchen counter.
- Now, here's the deal: delicately ease that dough out of the bowl and onto that flour-dusted counter; let's keep those air bubbles intact for the ultimate airy, scrumptious loaf. And if that dough's clingin' to the bowl like a stubborn friend, no worries. Just wet your hand with a splash of cold water and gently nudge it out, making sure not to leave any goodness behind. We're talkin' attention to detail here: every bubble counts in the pursuit of perfection.
- Alright, let's shape this dough into a work of art: Think of it like folding an envelope—pull each corner in towards the center until that dough starts to feel snug and puts up a bit of resistance. Then, flip it over and gently mould it into a beautiful round loaf. We're talkin' about sculpting here, my friend—shaping that dough with care and precision until it's as perfect as can be.
- Grab yourself a proofing basket or a trusty medium bowl, give it a light dusting of flour, and carefully place your beautifully shaped loaf inside, seam-side down. Cover it up with a cozy tea towel and let it do its thing for another 30 minutes or so.
Fire Up the Oven and Let's Bake!
- While that bread is busy rising to perfection, it's time to prep your oven. Pop an empty Dutch oven—lid on and all—right inside and crank that heat up to a toasty 460F/240C.
- Once that oven hits its scorching point, you're primed and ready for action! Grab those trusty oven mitts and carefully pull that Dutch oven out from the heat. With a flick of the wrist, remove the lid and let that burst of hot air signal the start of something delicious.
- Now, here's a little trick to make your life easier: lay down a piece of parchment paper on your counter or cutting board. It's optional, but trust me—it'll make transferring that bread a breeze. We're talkin' about smooth transitions here, my friend, so don't be shy about giving yourself a helping hand.
- Gently tip that bread dough out of the proofing basket onto the parchment paper. But here's the secret sauce: make sure that the seam side is facing up this time. That's the ticket to those gorgeous cracks on top of the bread—the kind that'll make your heart skip a beat.
- With the utmost care and precision (no burns allowed!), gently use the sides of the parchment paper to lift that bread up and gracefully slide it into the hot Dutch oven. We're talkin' about a delicate dance here, my friend—smooth and graceful movements to ensure that loaf lands right where it belongs. So take a deep breath, steady your hands, and let's make this transfer a thing of beauty.
- Donning your oven mitts, swiftly return the Dutch oven lid to its rightful place, then slide the entire setup back into your preheated oven. It's time to let the magic happen: Let it work in the oven for 30 minutes.
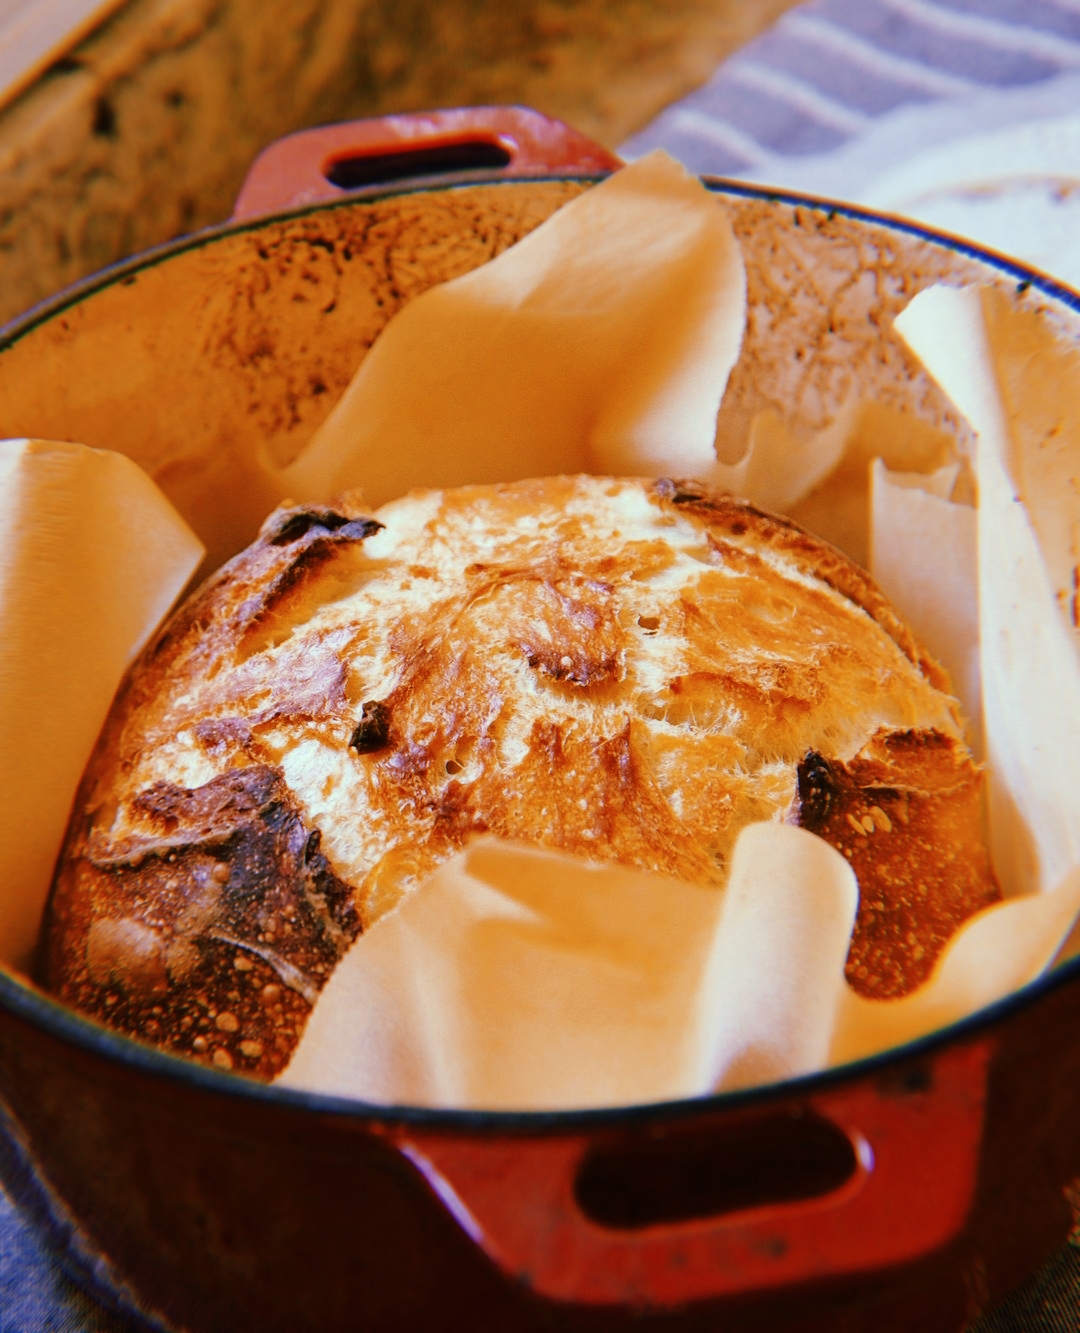
- After that initial 30-minute mark, it's time for the big reveal: carefully remove the lid from your Dutch oven and behold your masterpiece. The bread should have risen tall, sporting a crusty exterior with just a hint of golden brown. But we're not done yet—keep that oven door open and let that bread bake, uncovered, for another 10-15 minutes. Watch as that crust deepens to a beautiful golden brown, signaling that it's ready to be devoured.
- Once that bread is done and your senses are overwhelmed by the aroma of freshly baked goodness, it's time to take action. With your trusty oven mitts on, carefully pull that pot out of the oven.
- With precision and care, employ a long spatula or the corners of your parchment paper to lift that glorious bread out of the Dutch oven and onto a waiting cooling rack. It's a moment of triumph, my friend—savour it. Now, exercise patience and let that bread cool for at least 30 minutes before you even think about slicing into it. Trust me, the wait will be worth it.
- Slice into that bread, and indulge in the fruits of your labour. It's time to savour every bite and revel in the satisfaction of baking your own masterpiece; damn! that's delicious.
Did you make this recipe?
Please let me know how it turned out for you! Leave a comment below and tag @damnthatsdelicio.us on Instagram and hashtag it #damnthatsdelicio.us